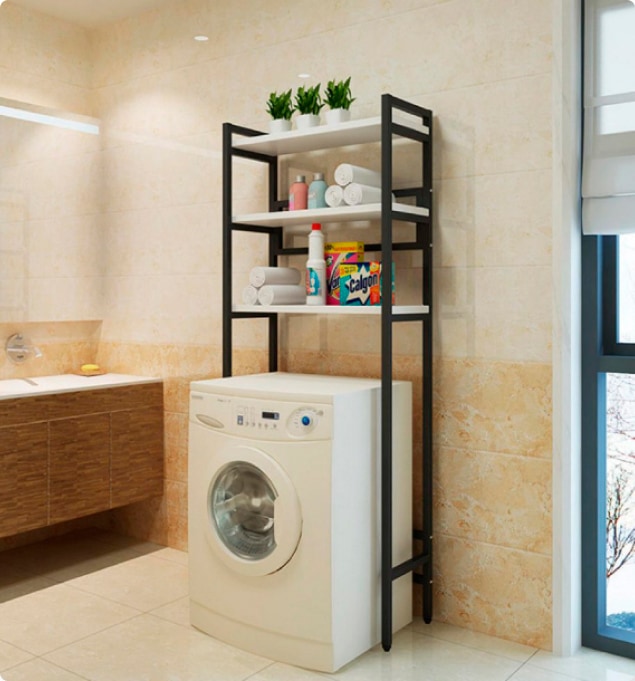
How to assemble a shelf from a profile in a bathroom.
In case of the manufacture of a complex architectural structure, the instruction provides different operating procedures.
- Perform a marking on the wall. Starting from the corner of the ceiling, draw a straight line - this is the inner part of the construction.
- From it at an angle of 90 degrees, lay the depth of the shelves and draw another vertical line. This is the border of the outer side. Using a plumb-rule, transfer these lines to the floor and wall. Fix the guide rails strictly according to the markings.
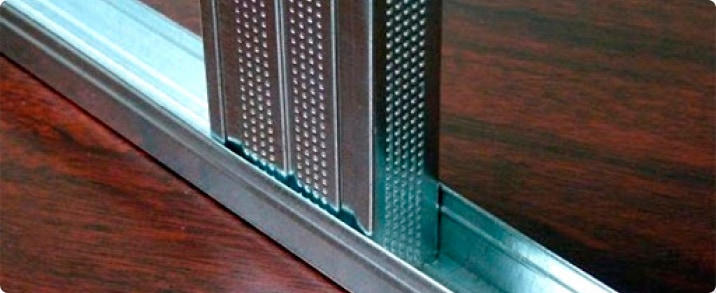
- Position the studs and fix them vertically to the edges of the horizontal rails and join them together.
- Cover with plasterboard.
- Make the slots for the horizontal profiles, fixing the pieces of the guide strips along the inner sides of the studs from the bottom upwards.
- Mark and cut the support profile into fragments corresponding to the size of the shelves.
- Trim the frame.
Installation details
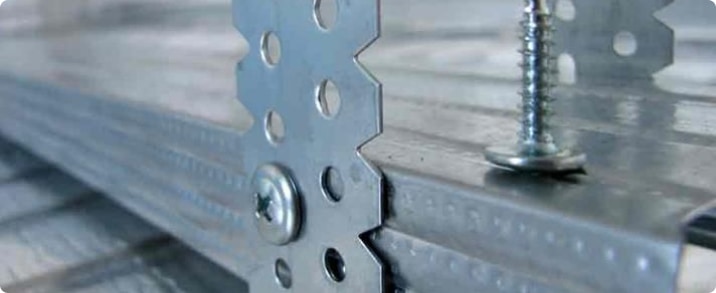
If the shelves on the wall are designed for a heavy load, then a sheet of plasterboard with a thickness of at least 18 mm and butterfly screws for a secure fixation are needed. Fix the guide profiles as often as possible. Use frames and crossbeams to reinforce the structure. Sometimes it is not possible to place a vertical piece in its entirety. In this case, it is placed with a joint, which must rest on a stiff bar. If it is not installed, the front putty in this place will constantly crack.
The DIY design of curvilinear structures provides for a template. It is made from a durable material, such as plywood. Densely pierce cut-to-size plasterboard blanks on one side with a needle roller and moisten well. Place it on the template and secure it at the edges. Leave it like that until it dries (about a day). The result is parts with smooth curves. They are fixed to the frame of the arch profiles with self-tapping screws. If only standard battens are available, they can be notched and bent at the desired angle.